
How to Design and Install a Successful Unistrut Ceiling Grid
April 7, 2026
Ceiling grids are a functional way to utilize overhead space regardless of industry or application. While traditionally used to support mechanical services in industrial environments or medical equipment in healthcare settings, ceiling grids can be used to support necessary utilities or simply enhance design elements in any space.

With all-bolted connections and no required welding, Unistrut is an ideal material for creating a ceiling grid system because of its endless flexibility. Grids can be created in any size, pattern, spacing, and design load, and they can be connected to nearly any existing structure, allowing for easy adjustments and expansion for future requirements.
A successful ceiling grid solution requires meticulous planning, design, and installation. Below, our team lays out our process for delivering the perfect solution for each of our ceiling grid clients.
Designing a Unistrut Ceiling Grid
To design the appropriate ceiling grid for your application, answer the following questions:
-
- What type of structure will the grid be hanging from, and how far below the structure will the grid hang?
- What will the grid be supporting, and how much weight will the overall grid need to support?
- Have you determined the proper deduction factor for your conditions?
- Have you considered the general beam loading for your channel options? See below for more about calculating beam load
- Will this be a braced or unbraced application?
- Is there a desired layout of the items being supported?
- Is there a particular finish preferred for the grid?
- What is the preferred connection of what will hang from the Unistrut channel?
- Does the grid need to be seismically rated?
- Any other considerations or details that should be taken into account?
One crucial step in the design process is calculating the beam load of your proposed system. Accurately calculating the total uniform load of your Unistrut channel can be the difference between a successful ceiling grid system and a failure.
How to Calculate Unistrut Beam Load
The information you need to determine the total uniform load of your Unistrut channel is:
- The type of Unistrut channel being used
- The desired span of the channel in inches
- If the channel is pierced, and if so, which series
- If the channel will be adequately laterally braced, and if it is unbraced, the span of the unbraced sections in either feet or inches
- The weight of your applicable Unistrut channel
- If your design calls for a concentrated midspan point load
With that information in mind and using the appropriate beam loading table for your channel, here are the steps to determining the total uniform load for your Unistrut channel.
- Determine the maximum allowable uniform load from the load table based on your desired span in inches, and if you are designing to deflection limit
- If your channel is pierced, multiply the maximum allowable uniform load found in step one by the following factor:
- “KO” Series: 95%
- “T” Series:85%
- “HS” Series: 90%
- “SL” Series: 85%
- “H3” Series: 90%
- “DS” Series: 70%
- “WT” Series: 85%
- If your channel is unbraced, use the table on page 62 of the General Engineering Catalog to multiply your maximum allowable uniform load by the applicable unbraced length factor
- Subtract the channel weight from your calculated maximum allowable uniform load (for example, P1000 has a weight of 189 lbs per 100 feet)
- This result is the net allowed total uniform load in pounds
- If you have a concentrated midspan point load, multiply the beam load by 50%
- This result is the allowed midspan point load
With that result, you can determine if the channel option you are considering can support the load of your system when used in your ceiling grid.
A Tip From the Experts
One common ceiling grid design mistake that we have seen over the years is not including adequate space for ceiling grid supports in the initial designs. Unlike other ceiling system installations, like acoustical tiles, ceiling grids require a secondary support structure, typically threaded rod drops, installed at four feet on center in all directions. If those supports aren’t included in the design, then problems can occur during installation.
Because our team has years of experience designing and installing ceiling grids, we can help walk clients through the process of designing supports for their ceiling grid system.
Unistrut Ceiling Grid Prefabrication and Installation
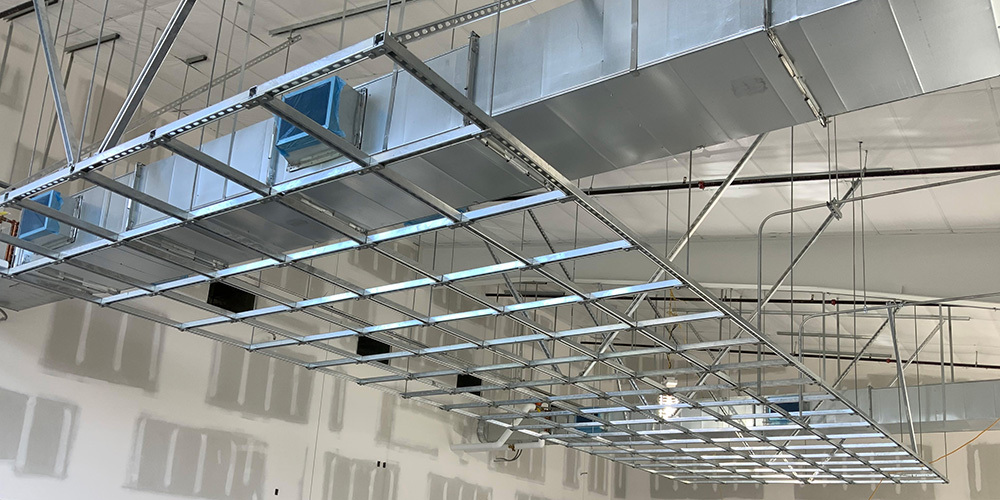
With materials selected and your ceiling grid designed, our team moves to prefabrication. This is where the modular nature of Unistrut shines, and the repeatable components found in ceiling grids are especially tailored to our prefabrication services. The main rails of the solution are assembled in our warehouse, and additional top and filler rails are cut to size. All rails are then bundled together, flat-packed, and shipped to the job site.
Once on site, installation begins. The main rails are connected to the primary structure, and the rails are then fitted with rod drops. The main rails are leveled, and the finish rails are fitted into place.
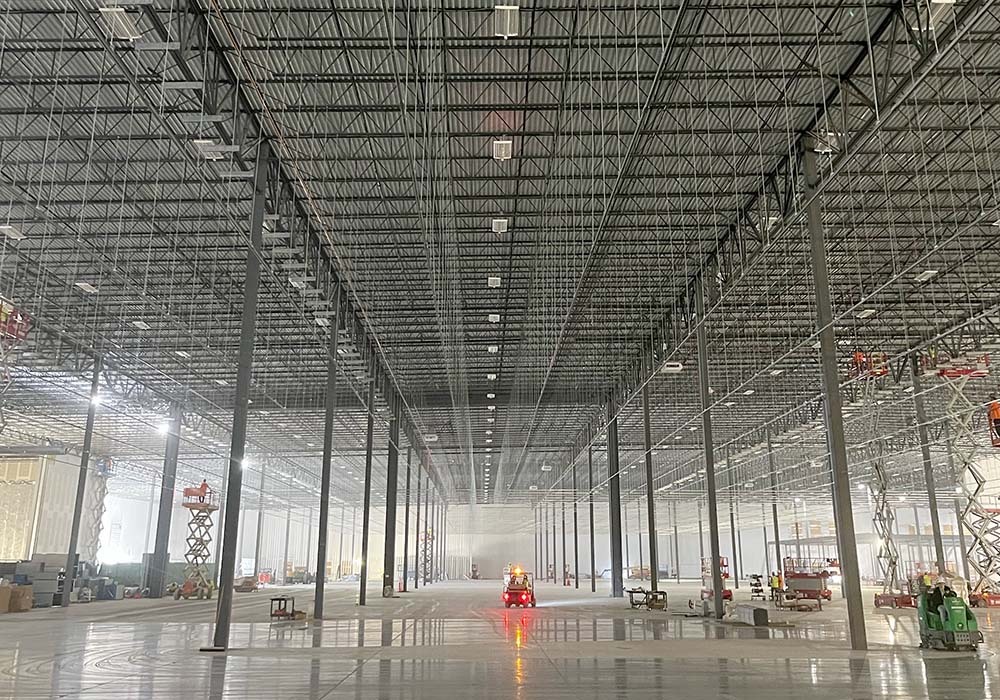
Thanks to the prefabrication work, these systems are installed much quicker than traditional, stick-built solutions. The result is a custom ceiling grid system installed with minimal onsite man-hours, and that can be adjusted and further customized to meet future needs.
Do you have an upcoming project that requires a ceiling grid? Our team can help you achieve a successful solution. Contact us to get started.